

how to install window trim over drywall
This post is sponsored by DAP*
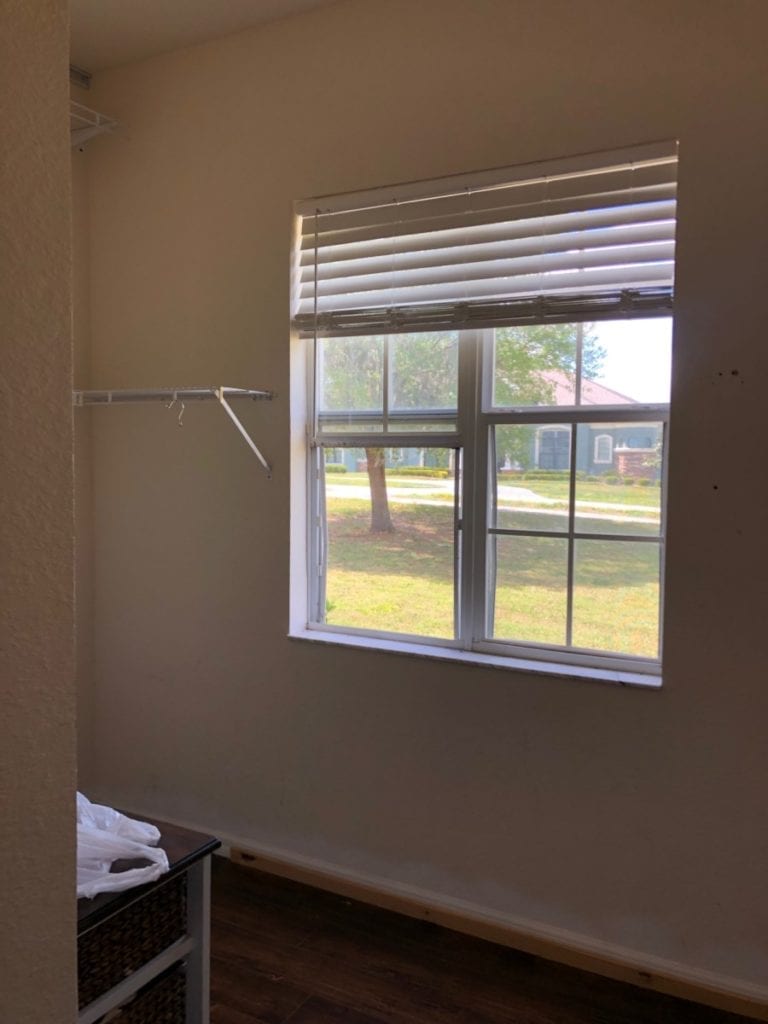
Hey all! As you probably know, I have an inability to leave well enough alone. Take my master closet for example. It is a decent size, ample amount of shelving, high ceilings, AND plenty of natural sunlight. Most people would consider this a win in regards to closets. Me? I see potential!  Sure it has decent size; but is it being utilized? Yes, it has standard shelving that serves its purpose; but is there a better option in regards to material and layout!? Yes, it has high ceilings, but could that height be better accentuated? Yup! There is definitely room for improvement. I definitely have my work cut out for me, but right now we are going to focus on the latter of the aforementioned list. The natural lighting. Yes, this closet has a large window that allows for plenty of natural light, but it is not much to look at. In my head I have dreams of this window being a focal point, and so I must beautify that window!
In order to tackle this project, I am teaming up with the great folks over at DAP. If you have ever considered upgrading the trim in your builder grade home, then. you are going to want to head to you local Home Depot and stock up on DAP products. They have you covered from drywall repair, to exterior window sealant! Today I will be showing you how you can take a knock down textured window jam, to a high end custom look.
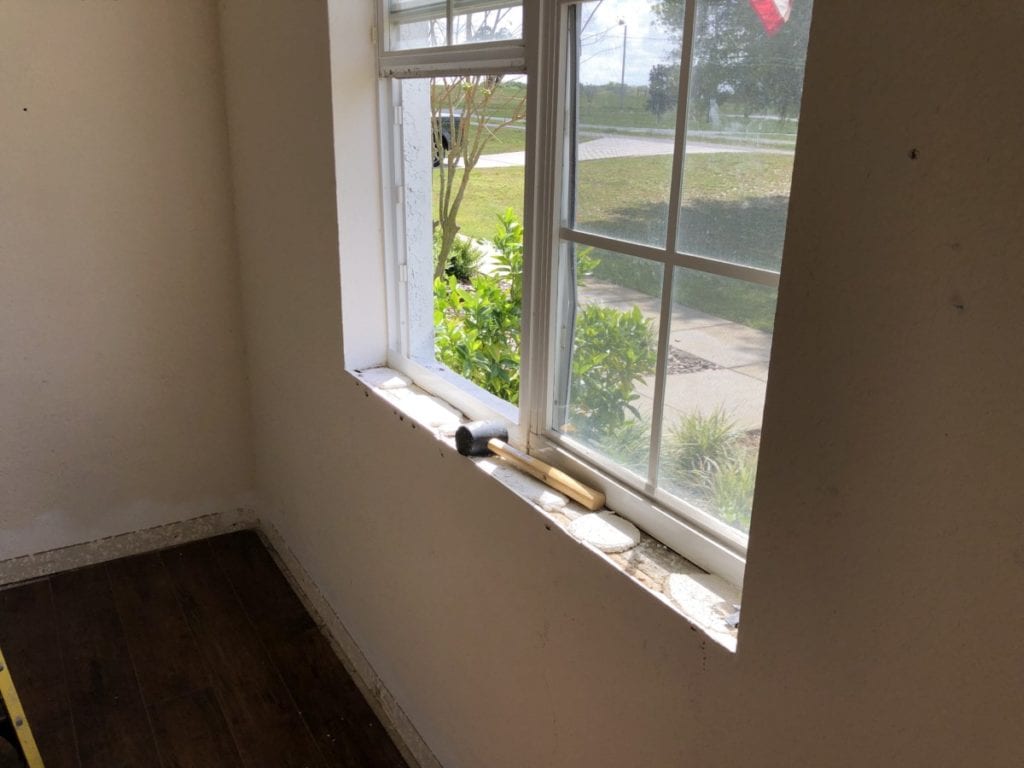
Remove Pre-existing Trim and/or Sill
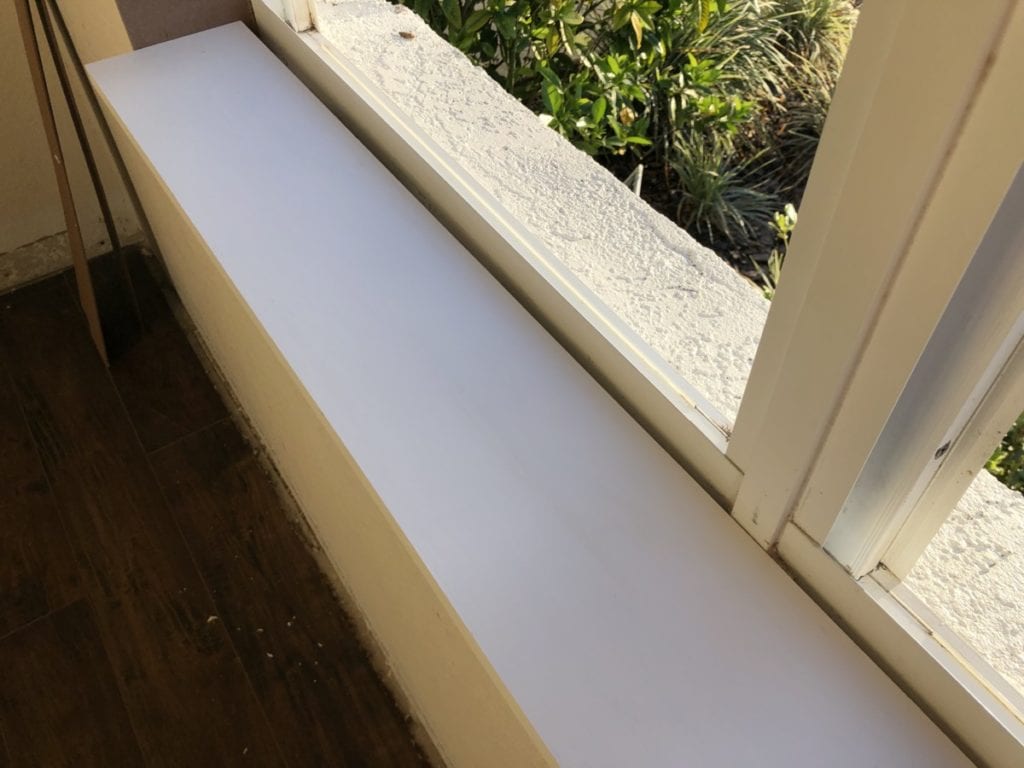
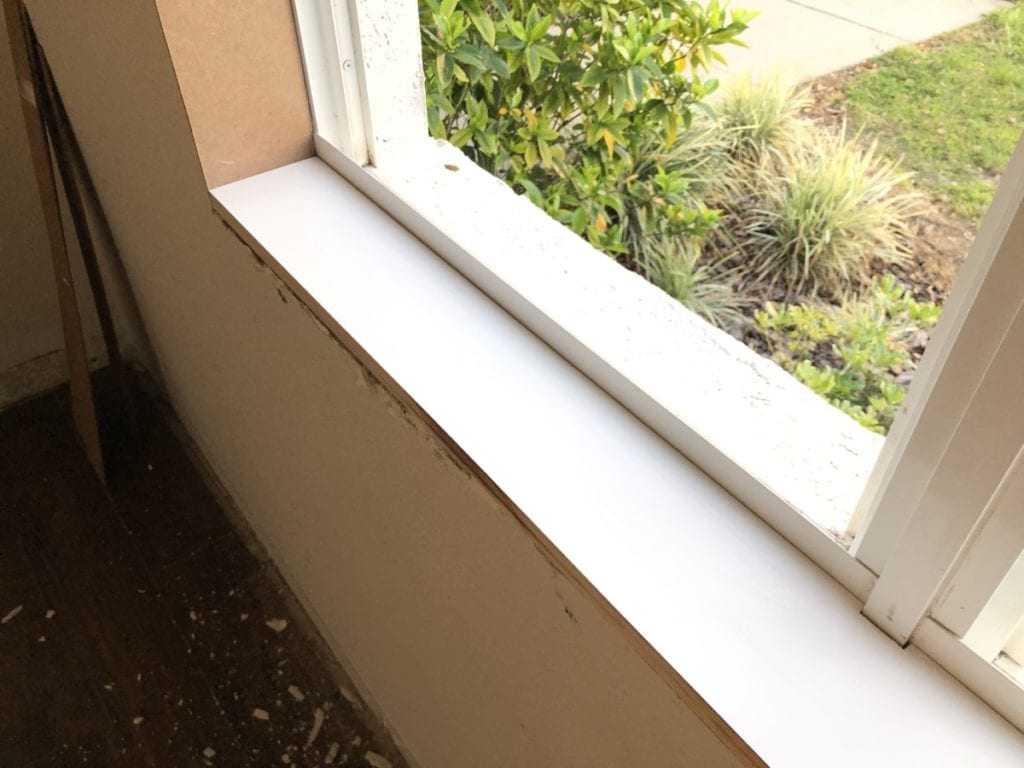
In our home there were not any window casings at all. In it's place was just textured drywall that wrapped where the window jam would be. However, we do have standard marble window sills. You can deal with this however you would like. I don't like them and chose to rip them out instead of working around it. They are typically installed with just a little bit of adhesive and with a little coaxing (and by "little coaxing" I mean beat it out with a hammer). Lot's of times if you hit the underside lip with a rubber mallet you can remove it in just a few pieces. Careful marble shards can be sharp!
Covering Window Jam
Ok, this is the step a lot of people don't address when they advertise "DIY window casing". They often times will leave the interior of the window casing the same texture of the wall. I find this very unattractive. There are other more professional alternatives ( knocking out the drywall completely and replacing it with a board), however I have used this system quite a bit and I am happy with the results. It is more of a happy medium result. With novice on one side, and professional installer on the other.
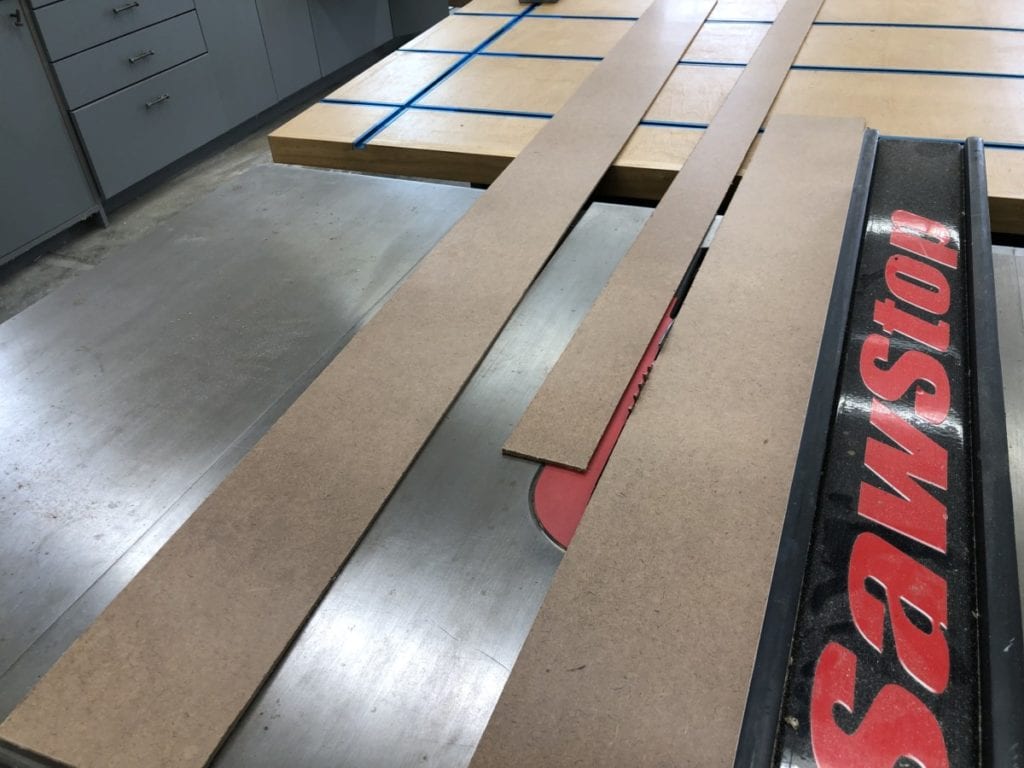
So to cover the textured knock down I am going to use a piece of 1/4″MDF paneling. You can pick this up in 4′ x 8′ sheets at your local Home Depot
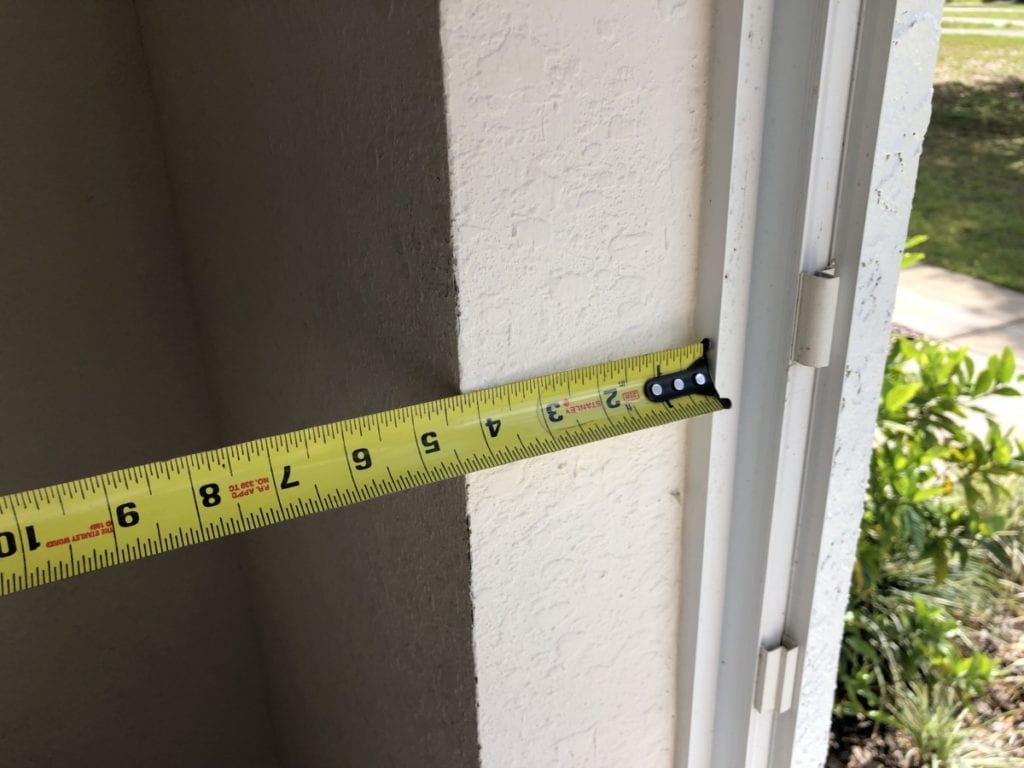
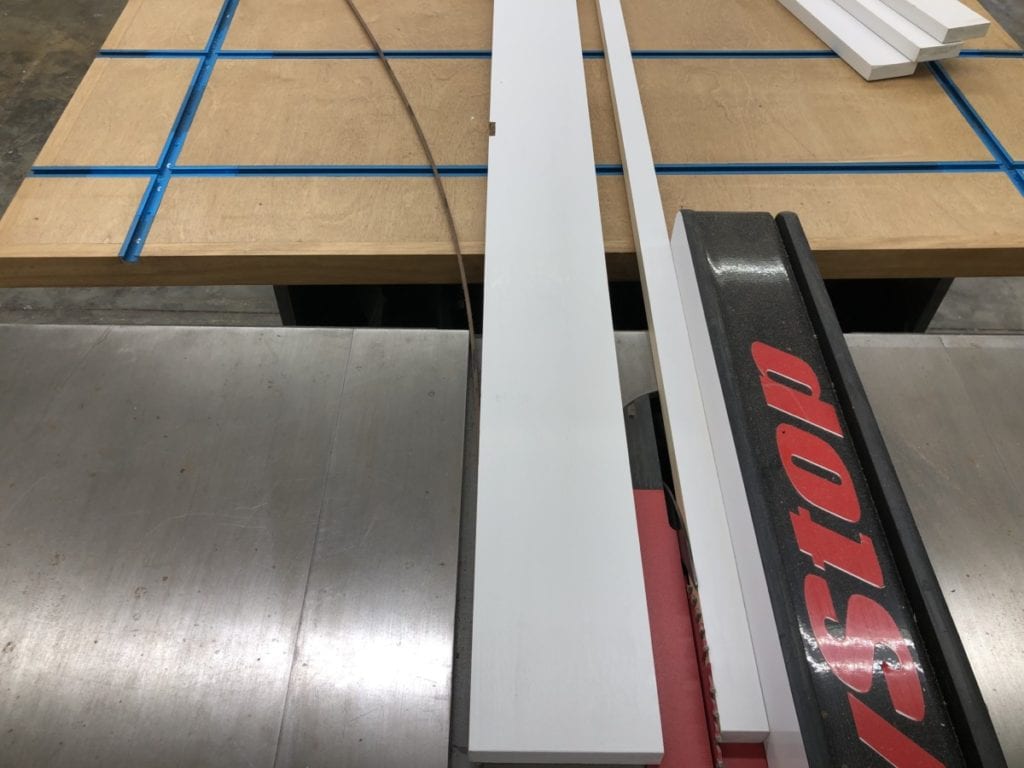
Before you start cutting you are going to need to take lots of measurements. Now in an ideal world where all home builders are perfect and all walls are level and square, this would not be necessary. One would think that the same width and height would apply to both sides of a window. Not so. So again, I would take your measurements very seriously. I even measure at several different points in regards to the width! Again, not all walls are perfect and sometimes it shows drastically when trying to do something detail oriented like casing a window. 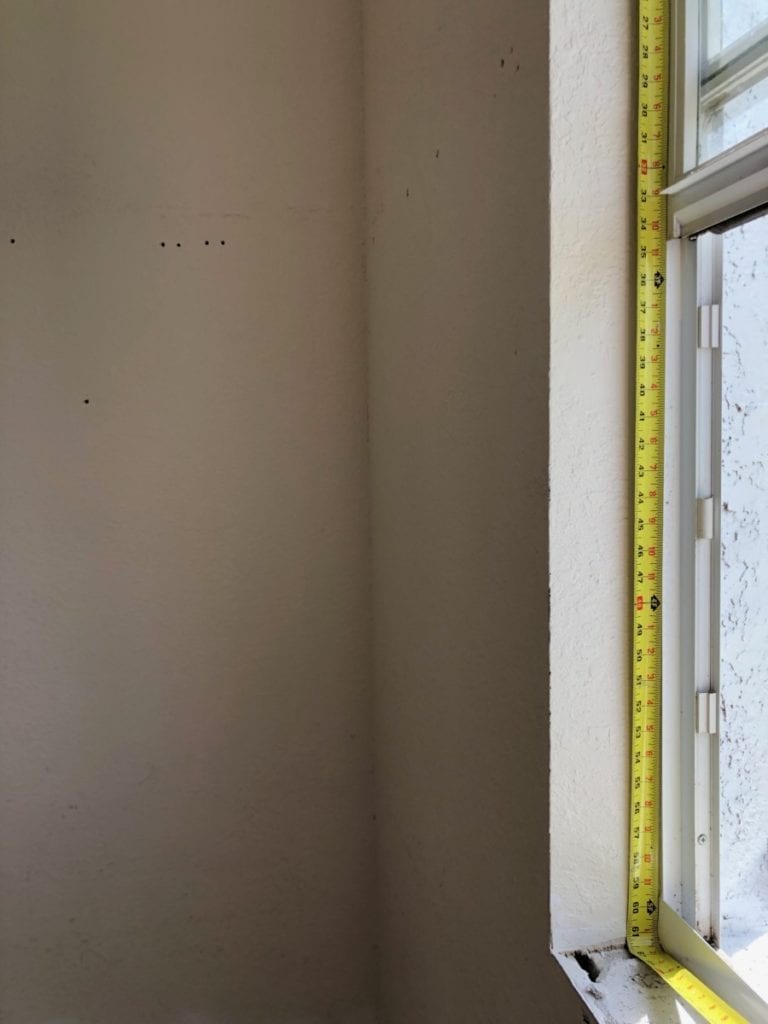 Next I took the measurements and transferred that to my 1/4″ MDF board and cut them down on my table-saw.
 Once the width is cut you can move on to the lengths. I like to cut these to fit. As we discussed before, sometimes a home isn't square so the measurements are a little off. Well I found my windows to not be square so I had to make some minor adjustments. I actually prefer cutting to fit. So I brought my handy little trim miter saw and just cut everything in place.
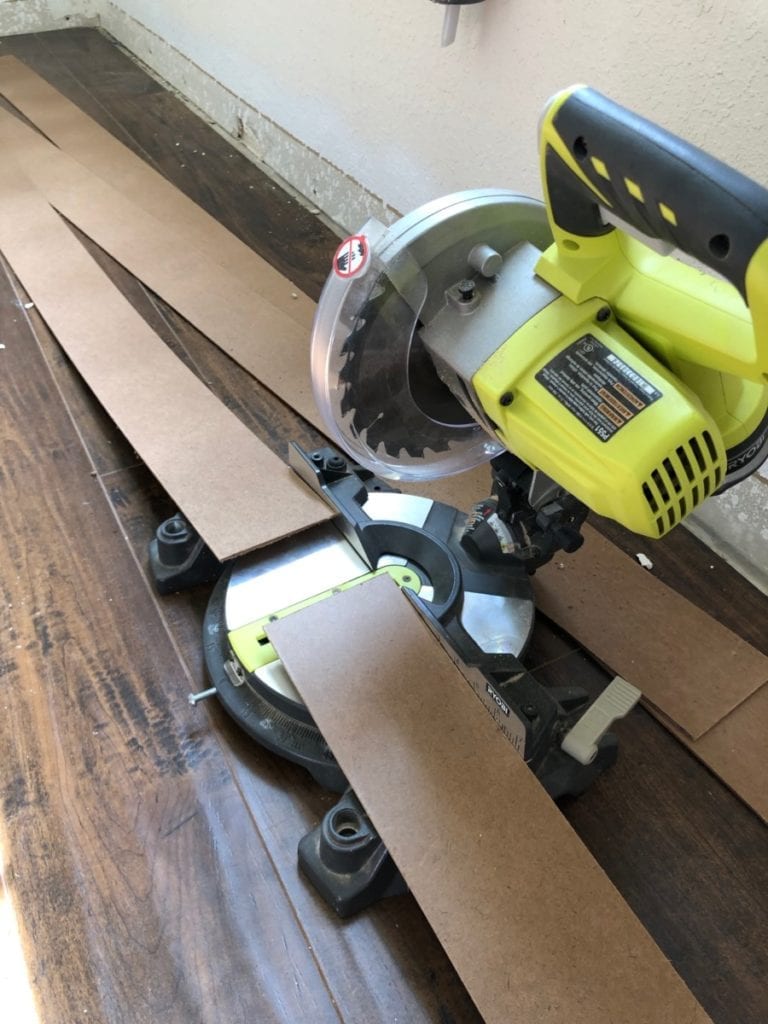
Install MDF Trim
Once everything has been dry fit (checked that it fits before installing) I moved onto the actual installation process. In cases like this where I am working with a somewhat flimsy board I like to secure it with a good construction adhesive. I have recently gotten hooked on DynaGrip by DAP. This stuff is thick and it means business! It is great especially when I am working by myself (which is 95% of the time). This adhesive is so thick that it literally just GRIPS the wall. I can put it up on the wall and can grab my finish nailer and tack in a few nails just to hold it while the adhesive cures. It is awesome. (HIGHLY recommended when installing Faux Shiplap)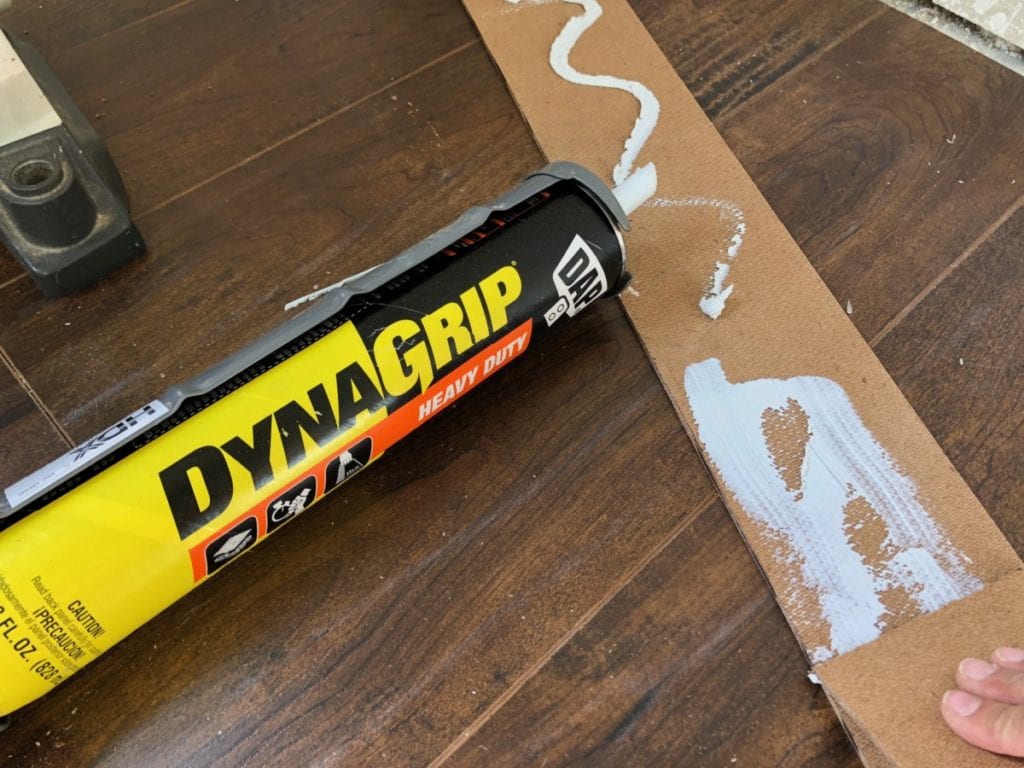 Once in place, I like to tack it in place with my finish nailer. At this point it should be looking a little something like this.
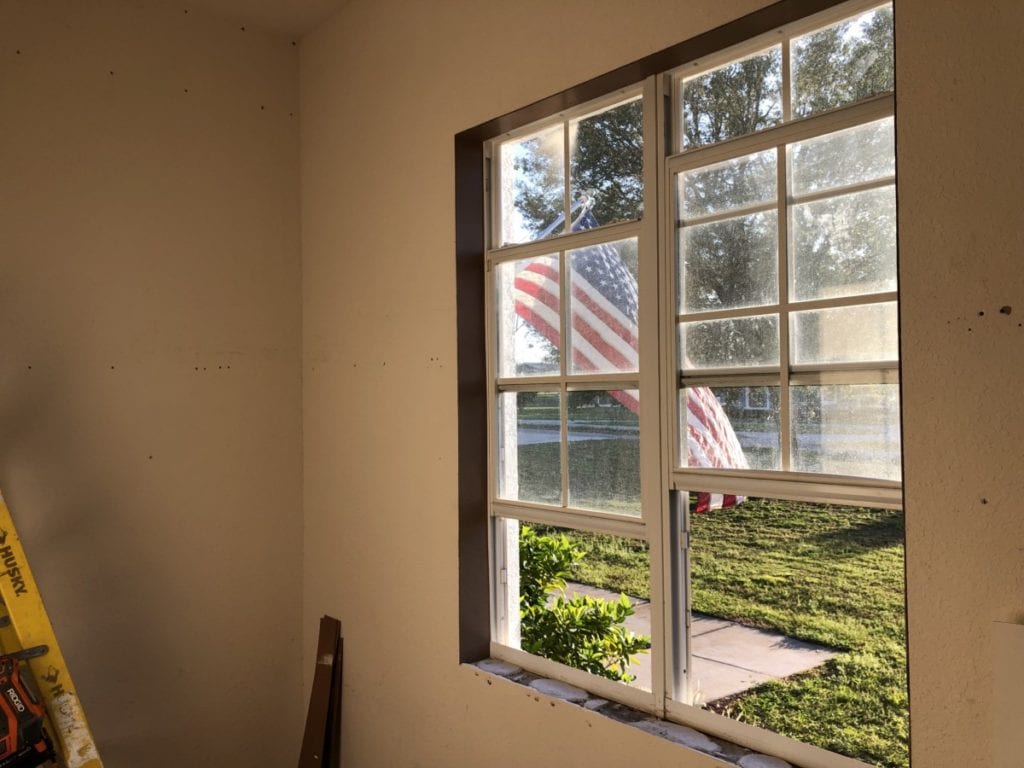
Install Sill
To create a sill I used a piece of primed 1″x 6″ finger board from The Home Depot. Now, this is all a matter of preference. I wanted this to be low profile and not have a lip that extended out and over the lower apron (the trim piece that will go around the perimeter of the window. Instead I wanted this to be mostly flush with the window casing. The reason being, this window is not a standard window casing, this is going to be apart of built-ins in the closet. So I do not want to have any corners and edges that I need to cut around. I need a nice straight edge to butt my built-ins next to. Make sense ?
 Ok, so I begin my cutting my window sill board to fit. Once fit I have a few other dimensions to work around. In this case the window itself was a double window and there was a center rail that cut right into the middle of my sill board. So while in place I transferred the dimensions to my board using a pencil. (Pay no attention to the look of absolute filth in the window. That was where the sill was and below is concrete and residue. All is hidden or cleaned up now. )
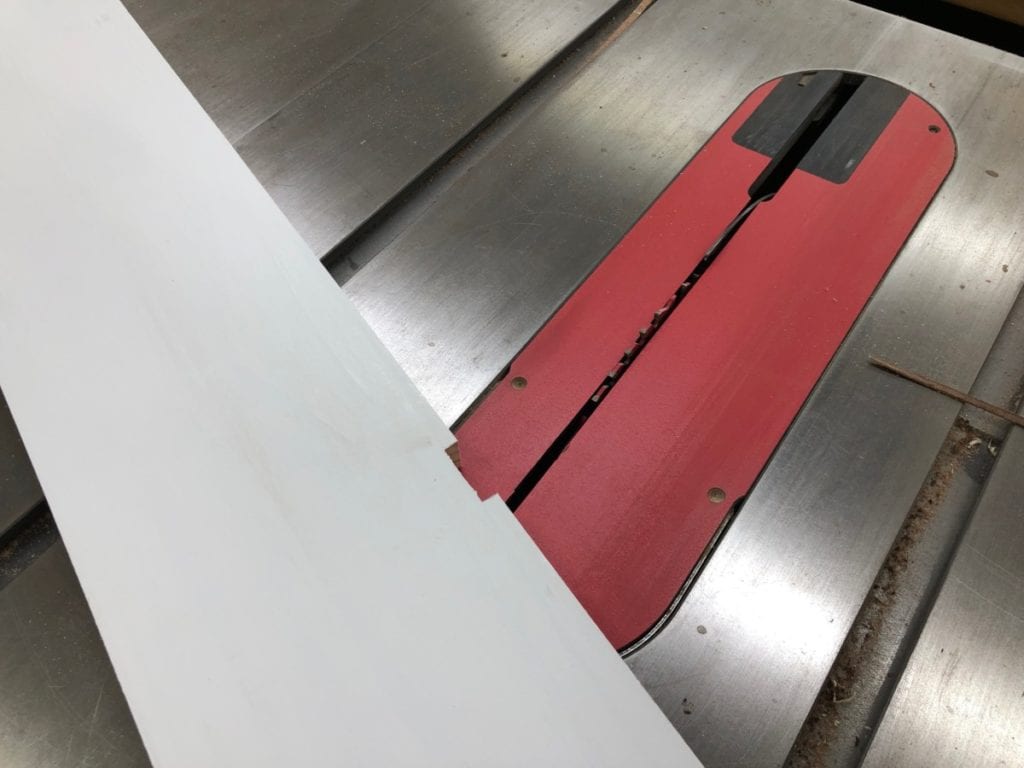
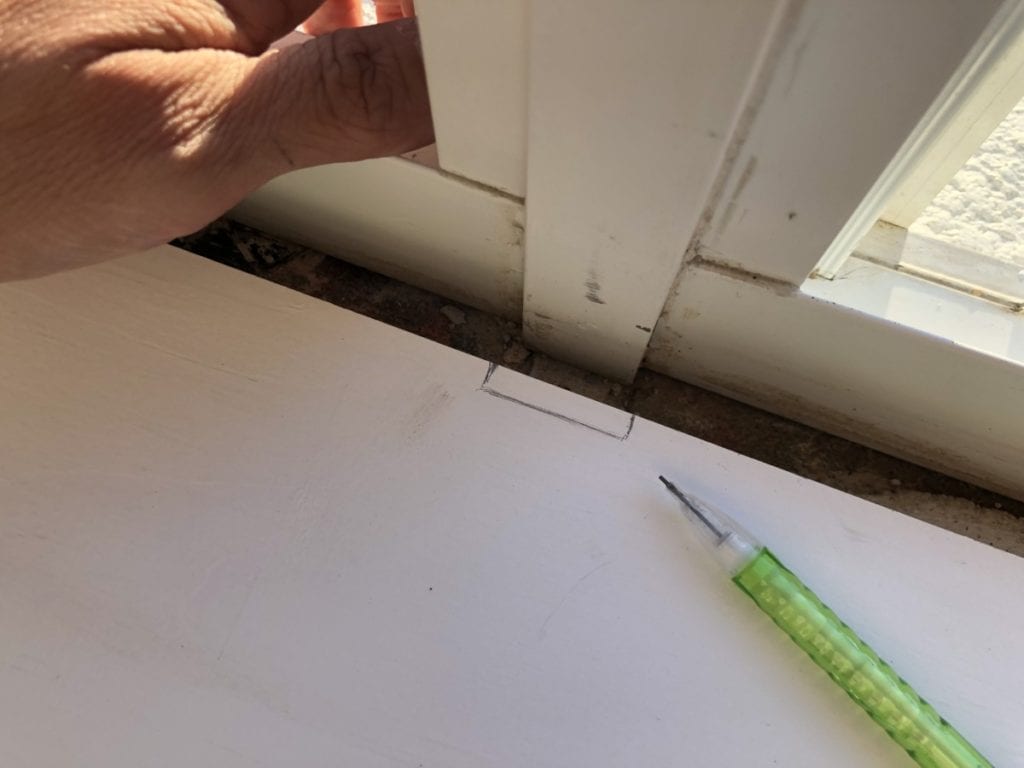 Many prefer to cut out notches with a jigsaw. I prefer a tablesaw set to the right depth, and use a series of cuts.
Next, I needed to cut this board to fit. As of right now it fit in the width and sat flush against the window. With it sitting against the window I measured to the outer edge of the window and cut my sill to that measurement.
 Then drop it in place and add some DynaGrip and you are good to go!
Add Perimeter Casing
Now to case the window. You have seen this a million times before. You can add craftsman style trim, you can dress it up, you can dress it down. But as for this project we are going super minimal. As I said earlier, I merely want to make this window look a little more polished seeing as it will have fancy closet shelving built up to it. So instead of a typical 1″x 4″ and something beefier on top, I use 1″x 3″ all the way around.
I like to start by tacking a board on the top and bottom of the window. I place them exactly where I plane to put them permanently, this should literally take 2 seconds to put up and take down. This will serve as a a marker for the length and cut of the side casings. As we have discussed earlier, one would naturally think that both of these side pieces would be the same, or at the very least square. Nope. That is what I like to temporarily install my top and bottom pieces first.

Once the side 1×3's are cut and dry fit, I attached them using the DynaGrip and then attaching with 2″ 18 gauge nails. Repeat on all sides.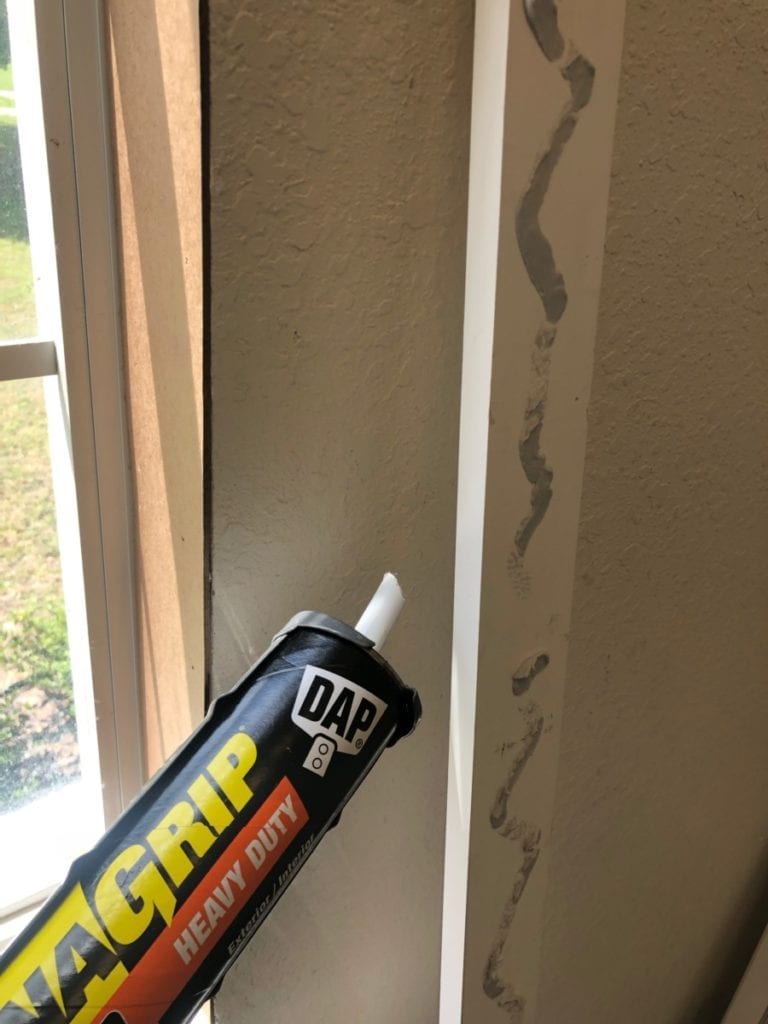
Make It Pretty
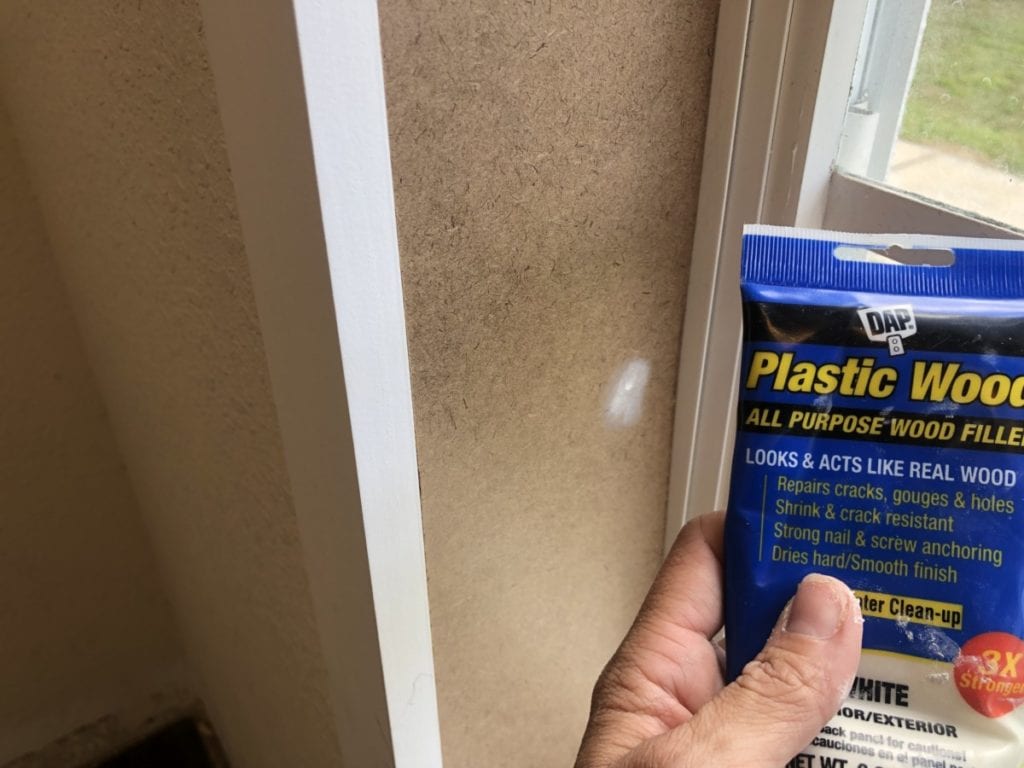
At this point the window casing might be looking a little less than perfect. That is OK! We still have quite a few tricks up our sleeves. First issue we want to address is the holes we created when nailing any of the trim pieces to the wall. This is a quick fix with DAP Plastic Wood. It is filler that is shrink and crack resistant, sand-able and paint-able. All of which are non-negotiable when it comes to finish work. Once all the holes are filled allow to dry.
 Once the Plastic Wood is dry use a foam sanding block to level the surface. So long as you didn't slather it on too heavily this should be a fairly quick and painless process. Then wipe it down thoroughly with a clean damp cloth.
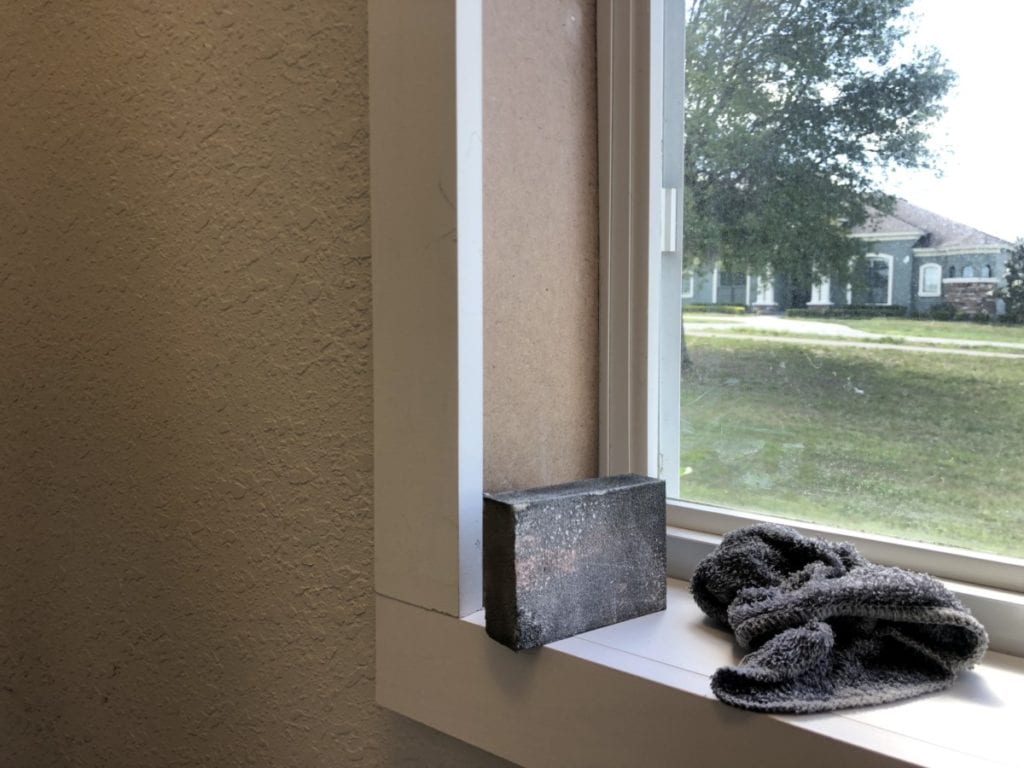
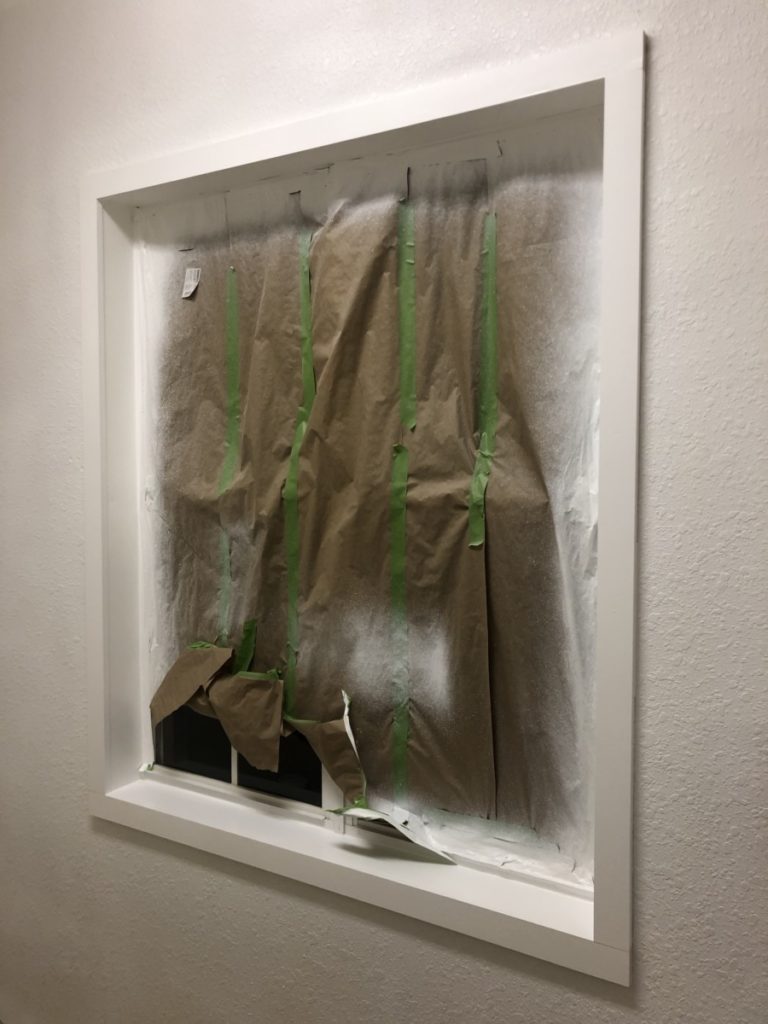
As I have said repeatedly, our walls and windows were not installed straight. With that there were quite a few in-discrepancies. That is where DAP Caulk comes to the rescue. Believe me, even the most seasoned worker relies on this stuff. It is a magic eraser for trim work. It can make a huge gap completely invisible. Check out the image below. There we are few fairly noticeable gaps where the trim met the wall. With a quick pass with caulk it was all but disappeared. Once you add paint the gaps are completely unnoticeable. Which is a great segway into our last step. Just add paint!

I taped it up with some good ole' Frogtape and painters paper and sprayed it. It took about 3 coats and it looked fantastic.
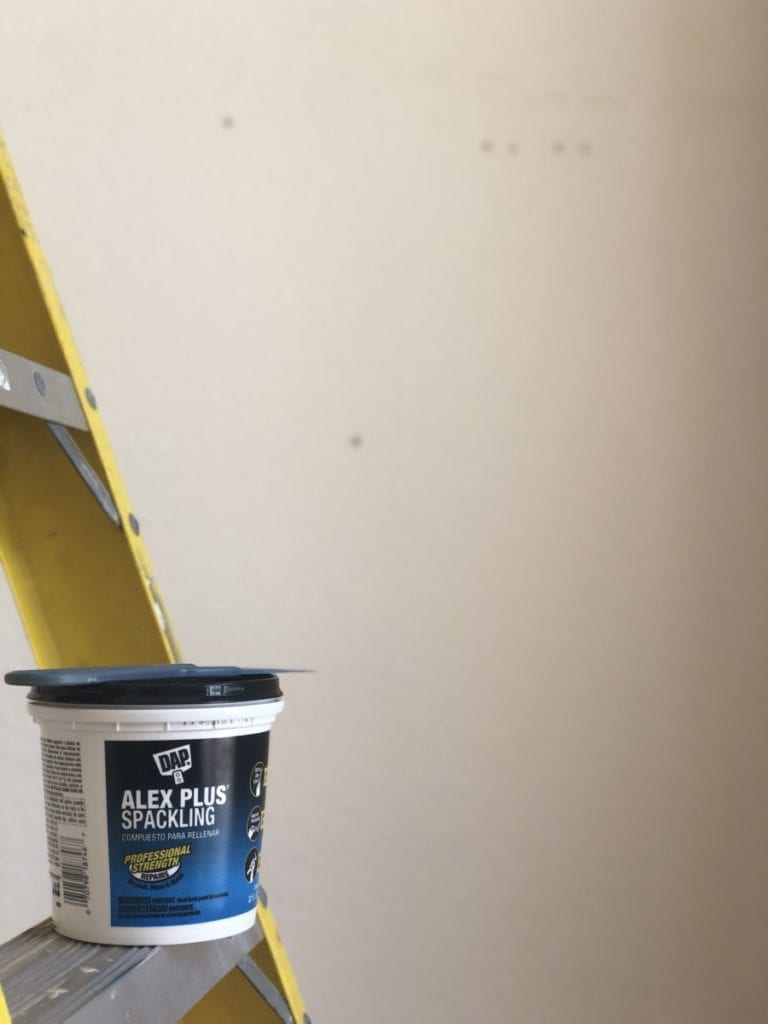
 In between coats of paint I took the opportunity to start preparing the rest of the closet for renovations. I wanted to get it down to "ground zero". In order to do that I had a lot of holes to fill. I mean A LOT! So. I pulled out some Alex Plus Spackle and had them all filled in no time flat.
 I must say with just filling the holes and casing the window this place is already looking infinitely better, but we aren't stopping there! No, no, I have so many great pans for this space so stay tuned because this makeover is going to mind blowing in epic proportions.
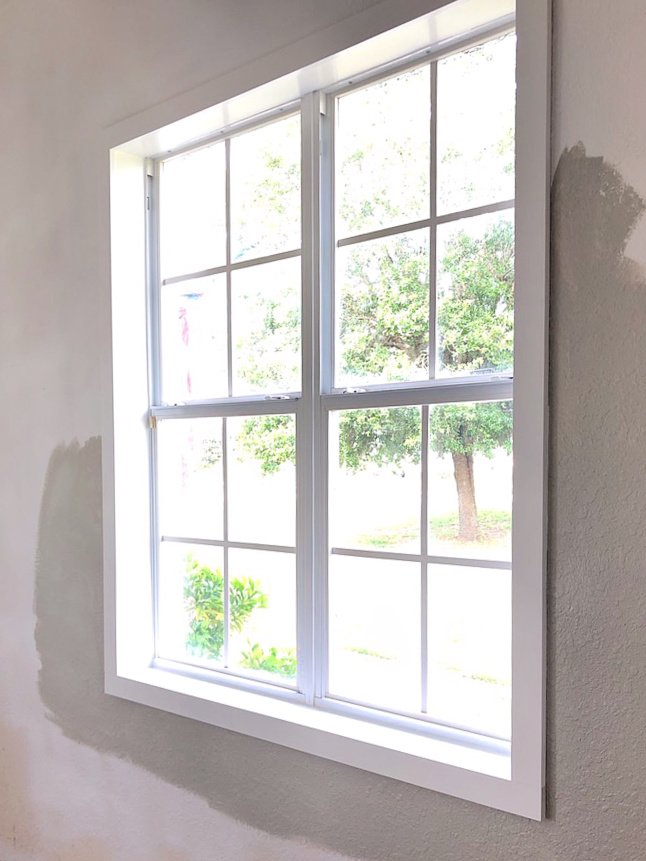
Seriously though, just look at this picture. See the texture of the wall? The window jamb use to be THAT! Night and day difference and it only took an afternoon. Time well spent by every account.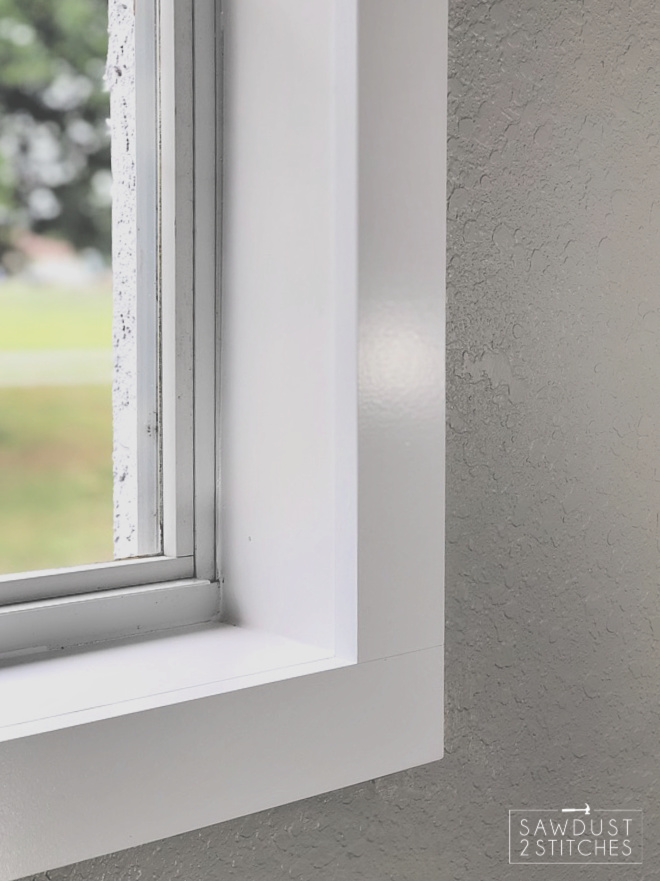
Thanks so much for following along, and stay tuned. The party is just getting started.
Take Luck,
Corey
 Copyright secured by Digiprove © 2019
how to install window trim over drywall
Source: https://sawdust2stitches.com/casing-a-window-an-easy-way-to-cover-the-jamb/
Posted by: elderwormse.blogspot.com
0 Response to "how to install window trim over drywall"
Post a Comment